Mappings are created for several reasons:
- To link a template to a load file not created by Data Workbench.
- To string multiple transactions together (See String Transactions.)
- To take advantage of the mapping options available.
- To download data pertaining to the upload back into the load file.
Create mappings in the Upload Mappings page.

- Click View Upload Mappings in the main tool bar.
- Click New Mapping to open the Upload Mapping Wizard.
- Give the mapping a name and description.
- Click Next.

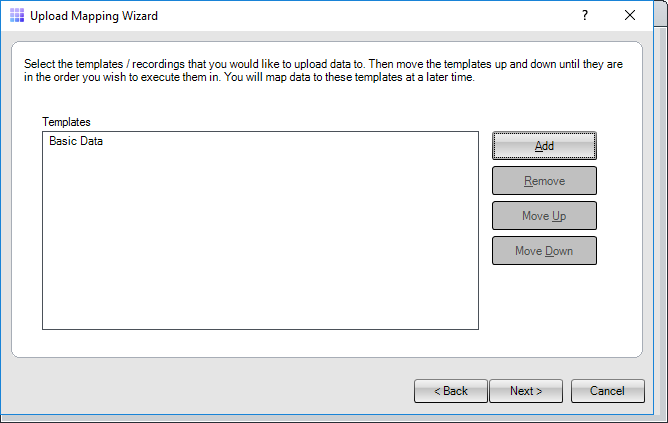
- In the Add Templates screen, click Add to display the Template Selection dialog.
- Select one or more templates to include in your upload mapping,
-
Click Next.
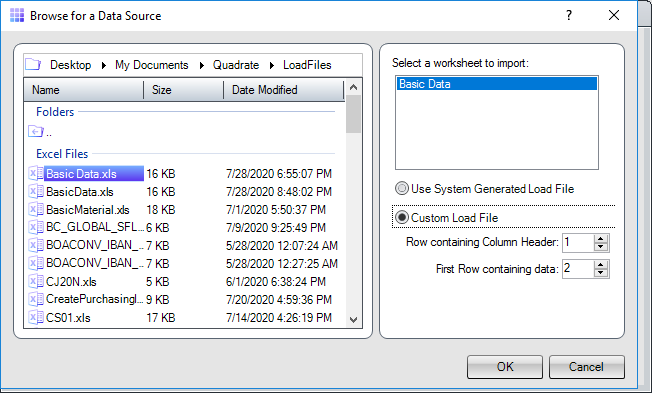
- In the Add Data Sources screen, click Add to display the Browse for a Data Source dialog.
- Select the load file containing the data to be used for the upload. There can be multiple load files, and they can be any combination of Excel and Access.
- Click Add.
- Select the first file name.
- Select the worksheet within the file.
- Click OK to add the first data source.
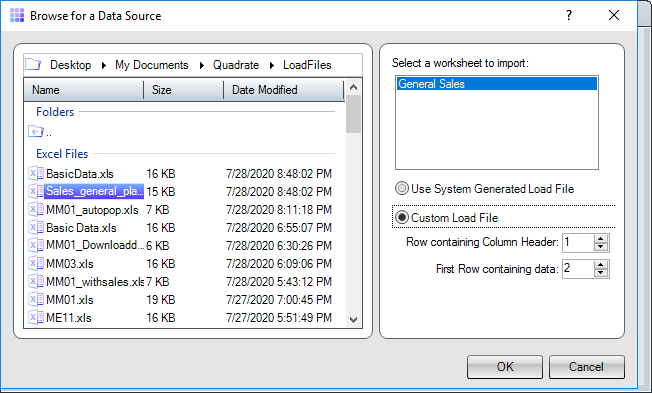
- Select the next load file.
- Click Add.
- Select the second file name.
- Select the worksheet within the file.
-
Click OK to add the second data source.
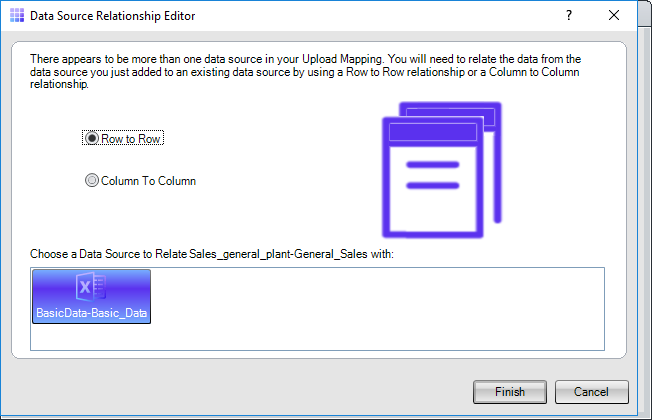
- In the Data Source Relationship Editor, choose the relationship details between the two files : Row-to-Row, or Column-to-Column .
-
Select the matching column in each of the load files.
-
Perform a mapping between the template and the files.
For each template brought in, mapping is broken into two parts: Upload Fields and Download Fields.
The Upload section contains fields that will be uploaded into the system and entails mapping fields from the template to the file / column where the data exists.

You have several other options for populating a field besides choosing a value from one of the load files:
- Conditional Script
- Manipulation Script
- Fixed Value
- Ignore Field
- Delete Field Contents

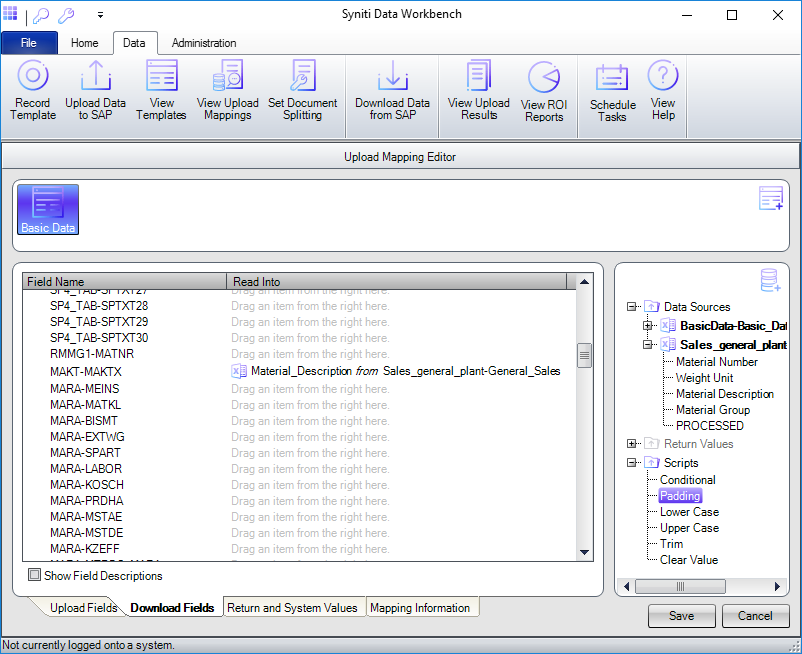
The Download section contains those fields that have the potential to be downloaded into the load file during an upload. This entails mapping the fields from the template to the file / column where the data is read into by dragging the field from a data source over fields in the Read Into column.
- Once the upload and download sections have successfully been mapped, click Save to save the mapping.
- The data identified in the mapping is now ready to be uploaded. On the Upload Mappings Page, select Upload.