The steps below explain how to upload long text fields using Data Workbench. This method uses the SAP Control instead of the simple editor.
- Go to the Record Template Page.
- On the Template Information tab, enter the transaction code that you would like to record. The following steps use MM02 as an example.
- In the Template Type field, select BDC Template.
- Go to the Recording Options tab.
- Check Record Long Text. This enables the recording of long text SAP Controls.
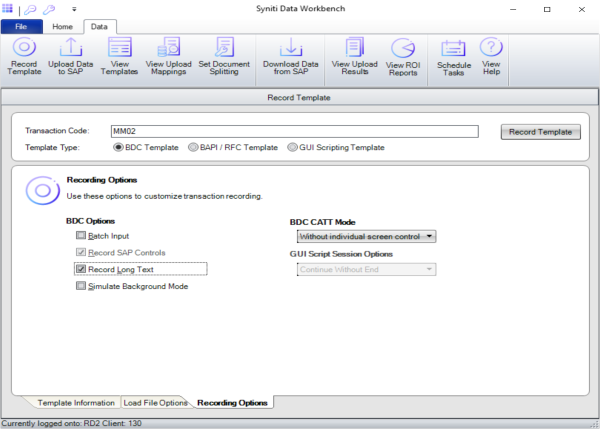
Figure 1 – Template Recording Page with Recording Options Tab Displayed - Give the template a meaningful name, typically a brief description of what actions you are performing during the recording.
- Optionally, add a description. This may be helpful if you have notes to add about the recording or you want to distinguish this recording from other similar recordings.
- Click Record Template. The SAP GUI opens with the initial screen for the transaction.
- Fill out the header data, making sure to "touch" all of the fields to use for the upload.
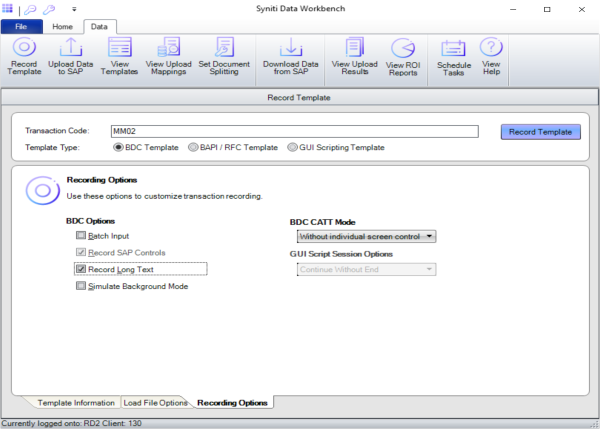
Figure 2 – Template Recording Page, Record Template - Type in a Material Number and press <ENTER> as shown in Figure 3 below.
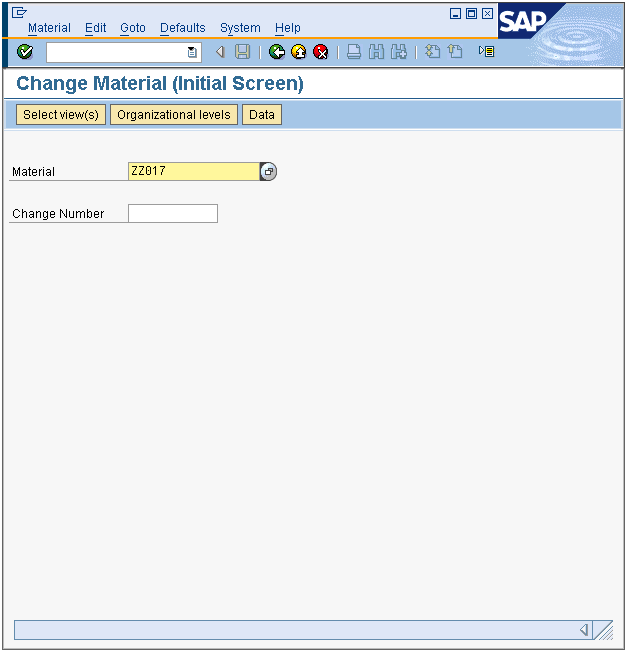
Figure 3 – MM02 Initial Screen - Select the “Basic Data 1” view and then click the green checkmark.
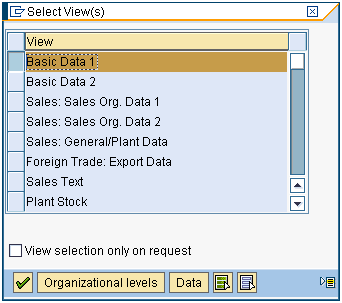
Figure 4 – MM02 Select View Screen - Scroll down to the bottom of the Basic Data 1 Screen.
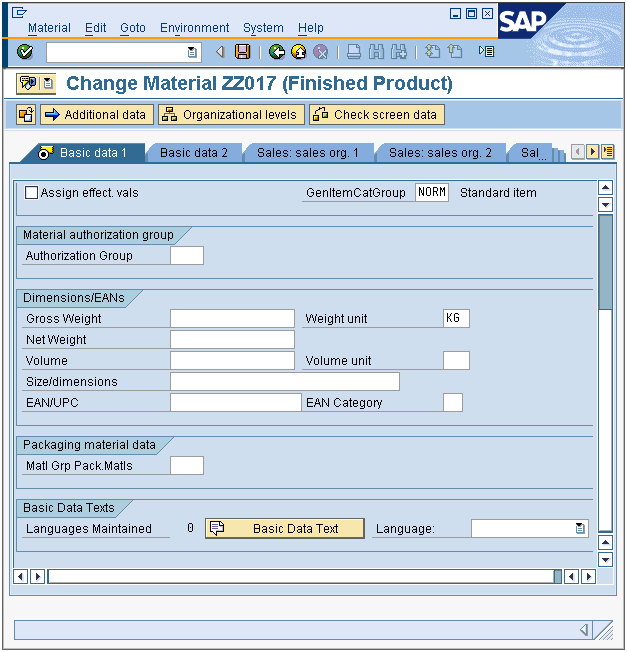
Figure 5 –MM02 Basic Data 1 Screen - Click the “Basic Data Text” button.
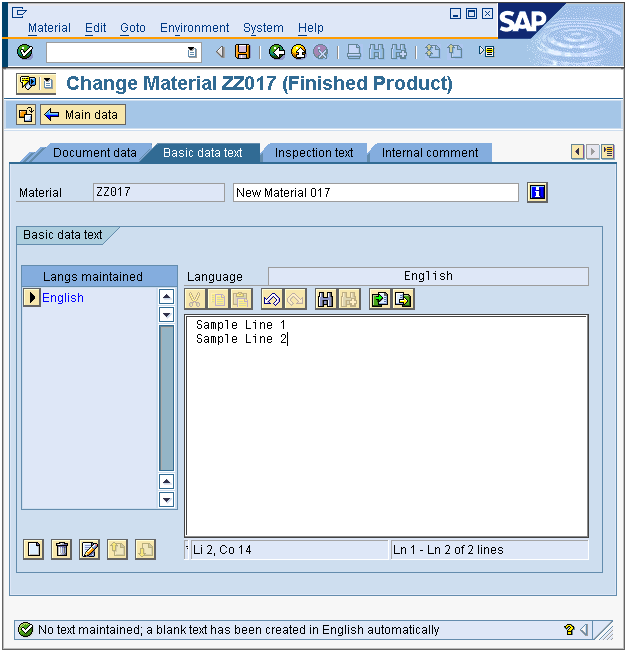
Figure 5 – MM02 Basic Data Text Screen - Enter text into the Basic Data Text textbox.
- Click Save in the SAP GUI or end the transaction however you normally would. The SAP GUI closes and Data Workbench creates the template.
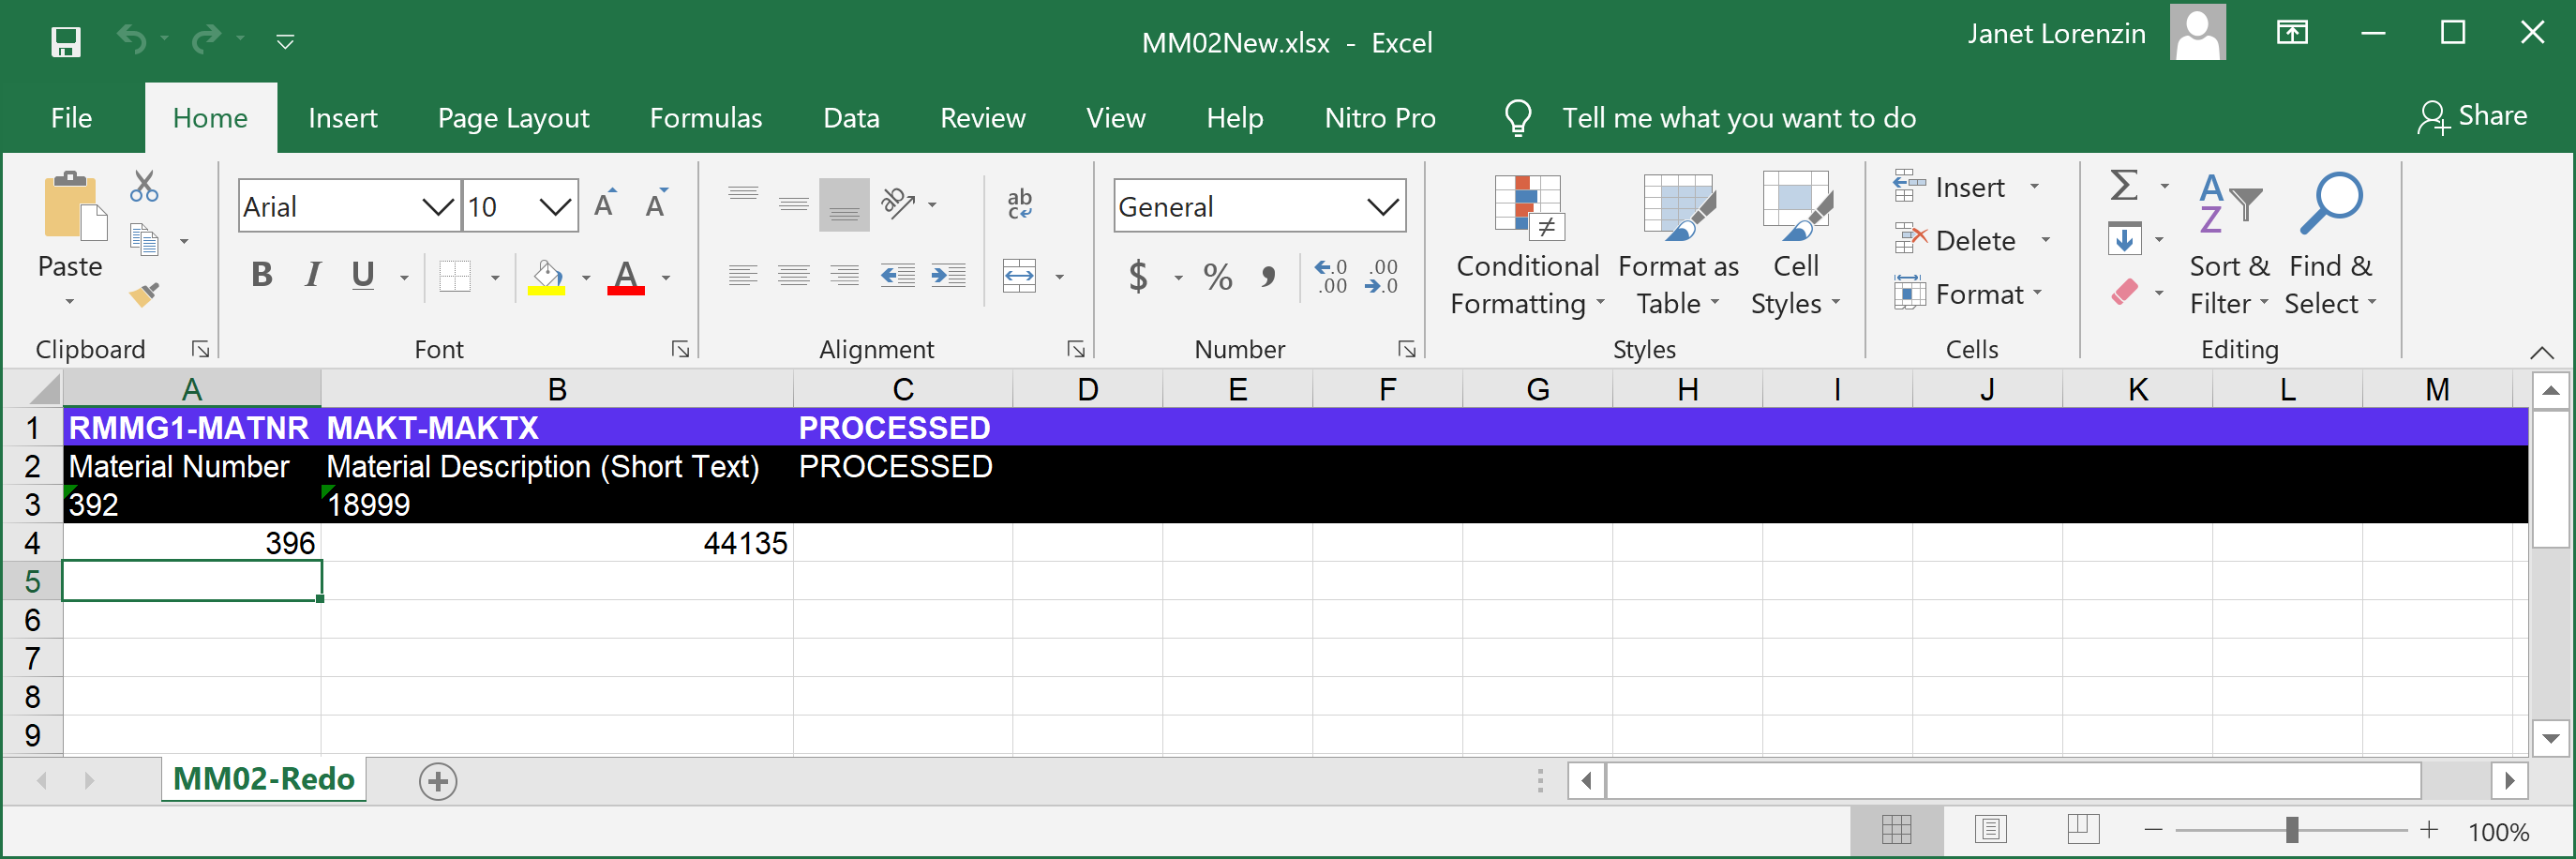
Figure 6 – Load File with Sample Data - Save and close the Excel load file.
- Go to the Upload Data to SAP page.
- Select the load file and click Upload as show in Figure 7 below.
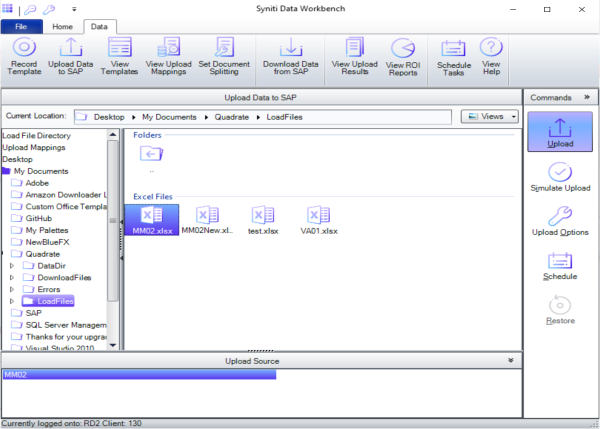
Figure 7 – Upload Section with Upload Button Pressed - The long text has now been changed. Verify the data by using the appropriate view transaction from within the SAP GUI.
NOTE: If records fail, see Troubleshoot Error Messages.