The steps below explain how to create a BDC Simple Multiline Template. Before proceeding, it is recommended that you know how Perform a Simple Upload and you have read over the recording Tips and Tricks.
- Go to the Data Page in Syniti Data Workbench.
- Click Record Template.
- On the Template Information tab, enter the transaction code to record. The following steps use FB50 as an example.
- In the Template Type field, select BDC Template.
- Give the template a meaningful name. Typically a brief description of what actions you are performing during the recording.
- Optionally, add a description. This may be helpful if you have notes to add about the recording or you want to distinguish this recording from other similar recordings.
- On the Load File Options tab, uncheck Create Load File.
The
load file is created later in the tutorial.
Figure 1 - Recording Section pressing the Record Template button - Click Record Template. The SAP GUI open with the initial screen for the transaction.
- Fill out the header data, making sure to "touch" all the fields needed for the upload.
- After filling out all the header data, press <ENTER> .
- Add the
first line item to the grid. It is important that this is done a specific way to make a repeatable
process for the loop.

Figure1 - Header details filled out after ENTER has been pressed - Enter the line item detail information. Fill out the first line of the grid with the appropriate information.
- Highlight the first row in the grid by clicking the button in the first column and then
click the insert row button(
 )
)
- Your screen should look similar to Figure 1.
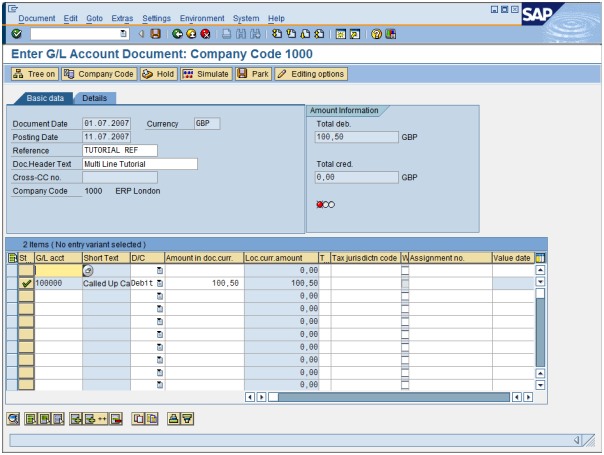
Figure 2 - Line item details after insert row has been clicked. - Fill out a second line by repeating the steps above.
- Click Save in the SAP GUI or end the transaction however you normally would. The SAP GUI closes and Data Workbench creates the template.
- Go to the Templates page.
- Highlight the newly created template and click Edit.
- Go to the BDC Contents tab.
- In the template contents, look for a pattern where one or more screens repeat. The repeated screens
represent each line item entered during the recording and contain the same line item
fields in each set of the pattern. Figure 3 below shows the selected screen and the one
below it are almost identical except for the data values. The next steps will be to loop
the first instance of the pattern and delete any other instances.
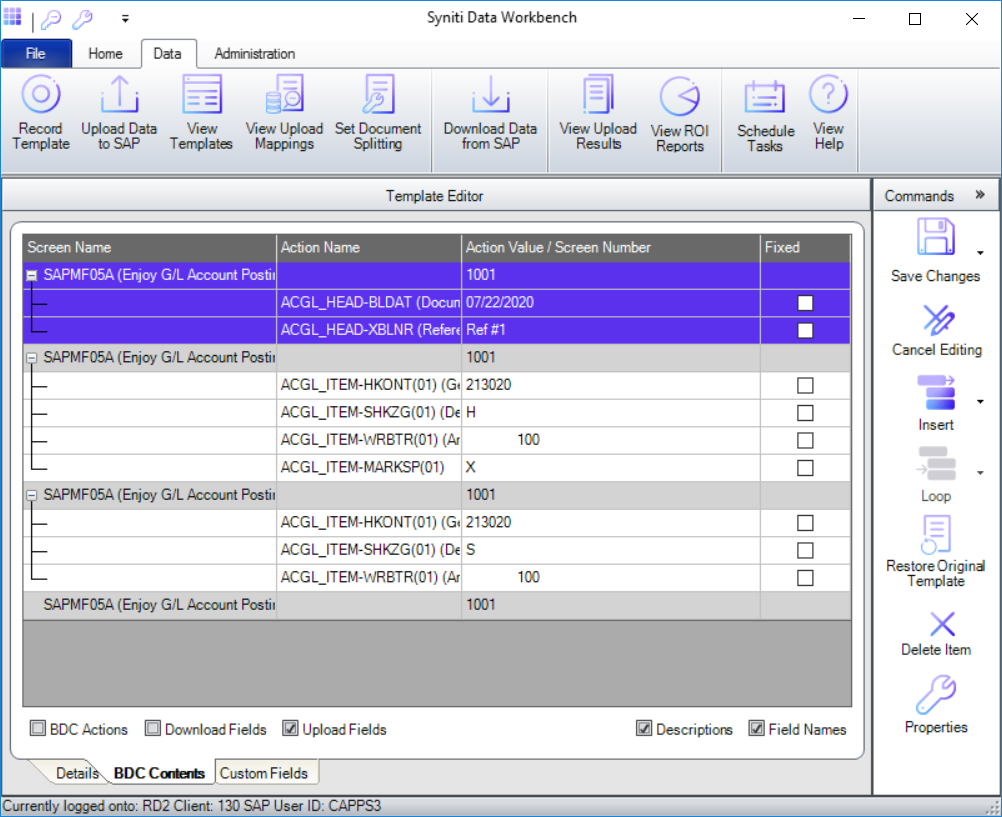
Figure 3 - BDC Contents Tab - Select the first instance in the pattern, right click and select Increment
Loop Level as shown in Figure 4, to identify this part of the template as repetitive
and allow you to enter a variable number of line items.
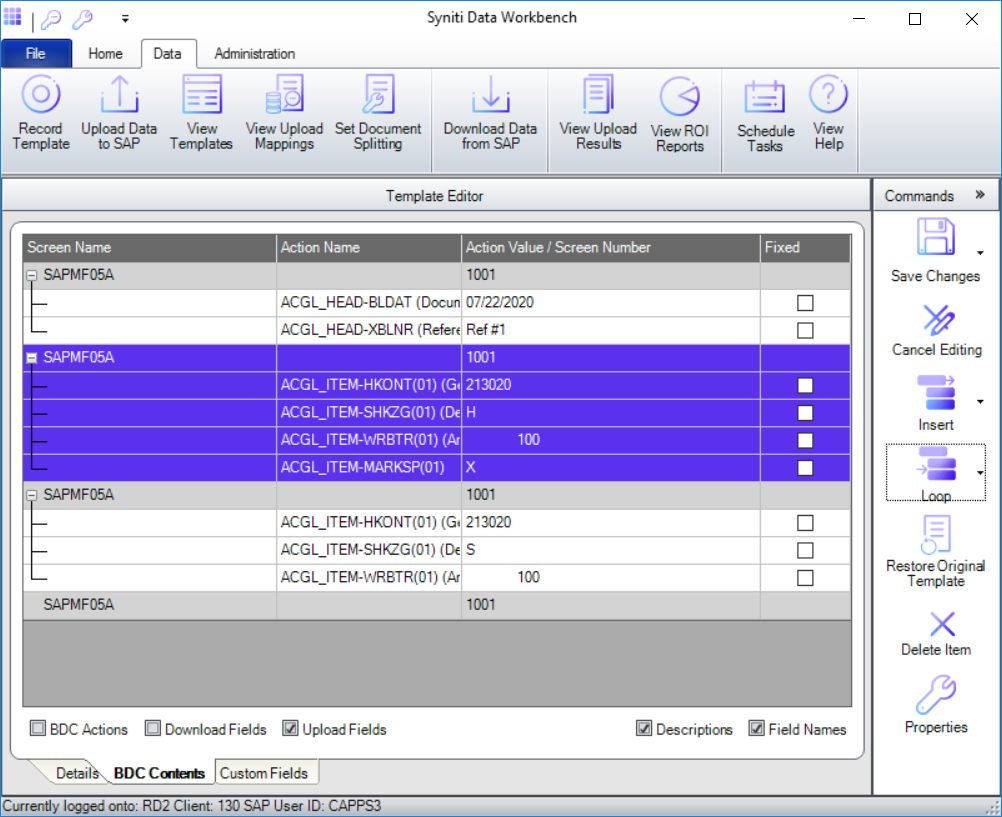
Figure 4 - Incrementing Loop Level - Select all other instances of the pattern below the loop leveland click
Delete Item.
Note: Be careful not to delete the last screen that contains the Save button press. If you make a mistake, you can go back to the original recorded state by clicking Restore Original. - Click Save to return to the Templates page.
- Select the template and click Create Load File.
- Select Create Multiple Sheets and click OK. This creates an Excel file that contains two worksheets. The first worksheet contains the header columns. The second worksheet contains the line item columns.
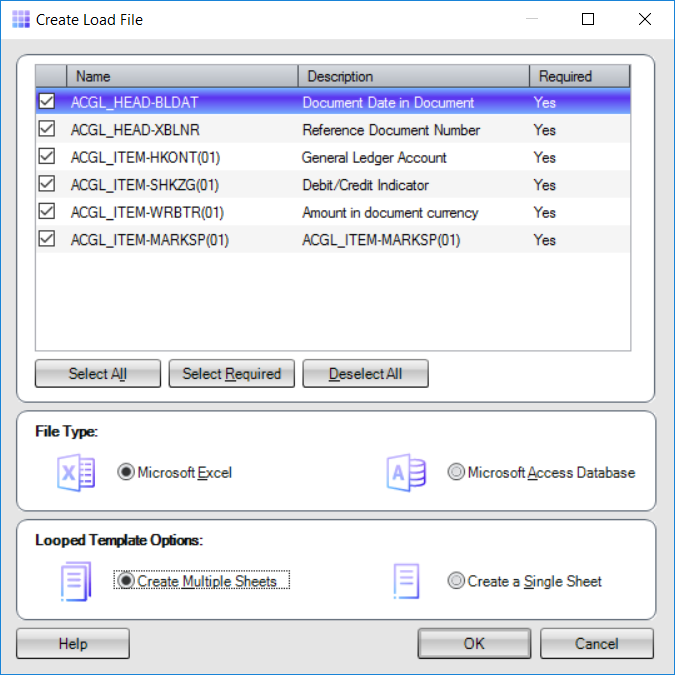
Figure 5 – Create Load File Dialog - To add data to the load file, enter the header information on the first worksheet. For each header line, enter a unique number in the id column.
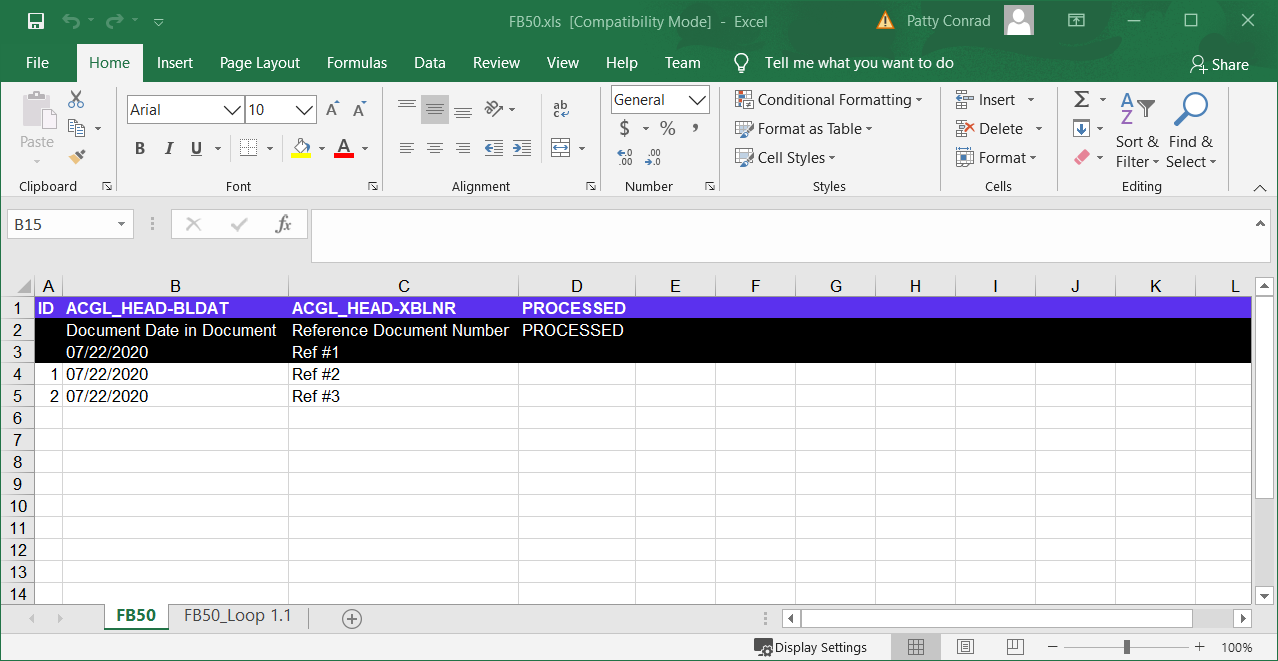
Figure 6 – Header Information - To add the line items, on the second worksheet enter the unique number from the id column on the first worksheet in the ID column on the 2nd sheet and enter the line item information.
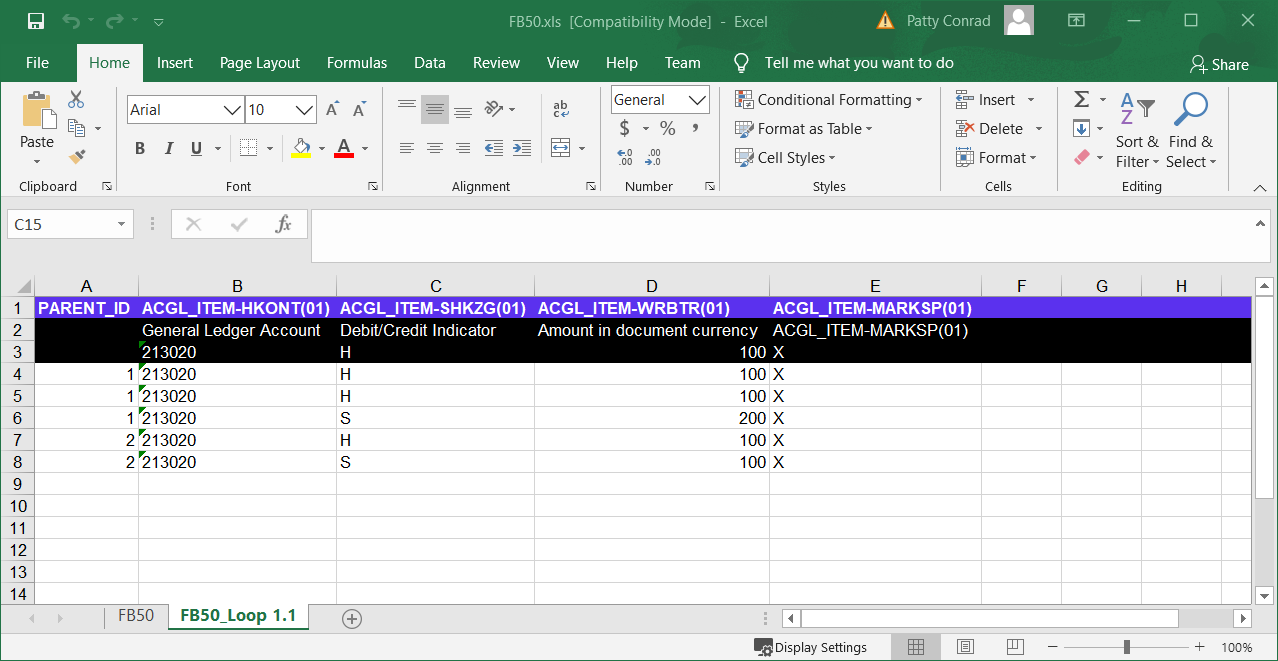
Figure 7 – Line Items - Add all the line items for the first Document on the 2nd spreadsheet remembering to put the corresponding unique id value into the ID column
- After populating the data in the load file, and saving it, go to the Upload Data to SAP Page, select the file and click Upload as show in Figure 8 below.
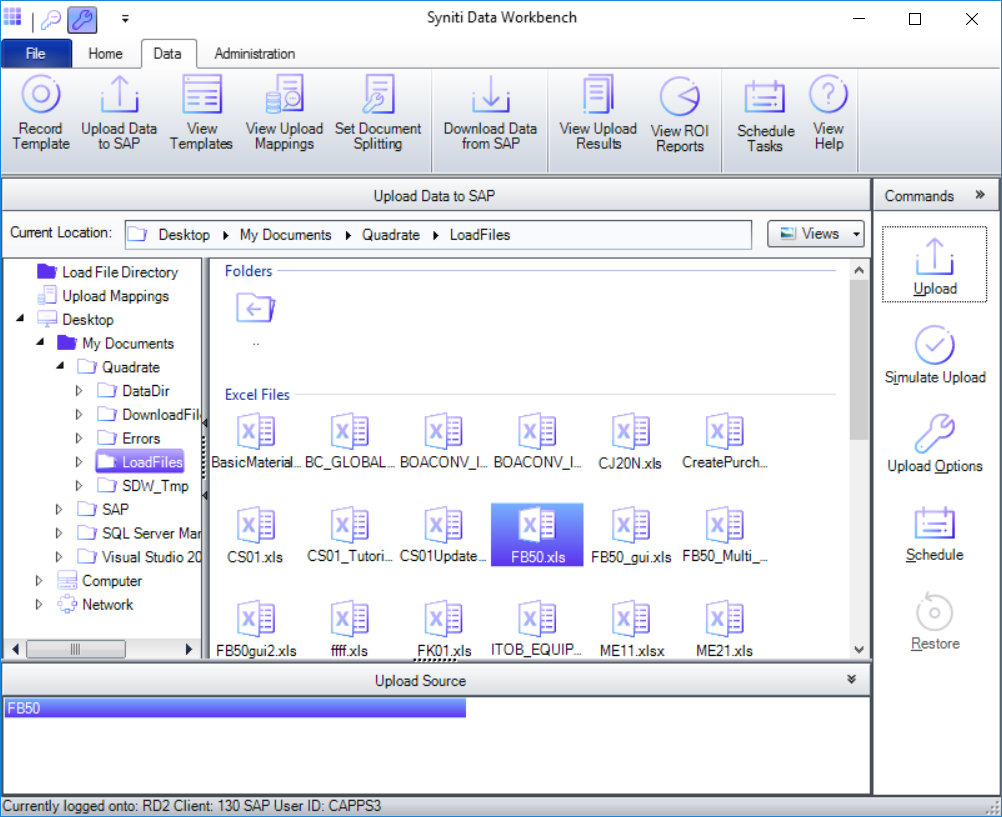
Figure 8 – Upload Data to SAP Page
NOTE: If records fail, see Troubleshoot Error Messages.