Syniti Data Workbench uses SAP transaction codes as a vehicle for uploading data from an Excel or Access file to SAP. The steps involved are:
Step 1: Record the Template
Before starting to record, review the transaction in the SAP GUI and decide which fields will be needed in your Excel/Access file when uploading data.Look over the Tips and Tricks help topic for recording tips.
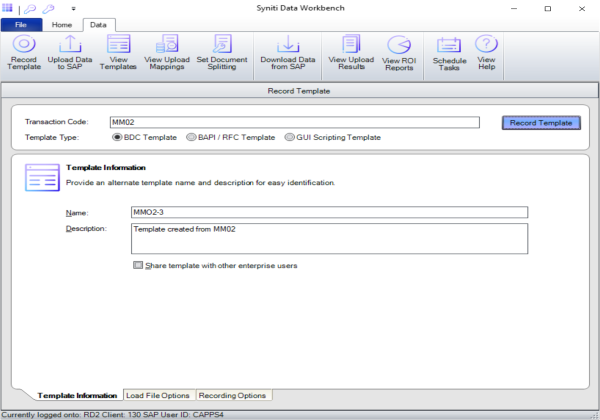
- On the Data Workbench Home Page, click Record a Template to display the Record Template Page.
- Type in the transaction code MM02 and click Record Template. If you are not already logged in to a system, you will be prompted to logon. The SAP GUI opens and starts the transaction.
- Go through the transaction just as you normally would in the SAP GUI.
For accurate recording, use the page down key to scroll down the page. All of the fields "touched" eventually become columns in the Excel/Access file used to load data (the load file). Use one of the following options to "touch" a field:
- Add a space and delete it.
- Delete the value and retype it.
- Change the value completely.
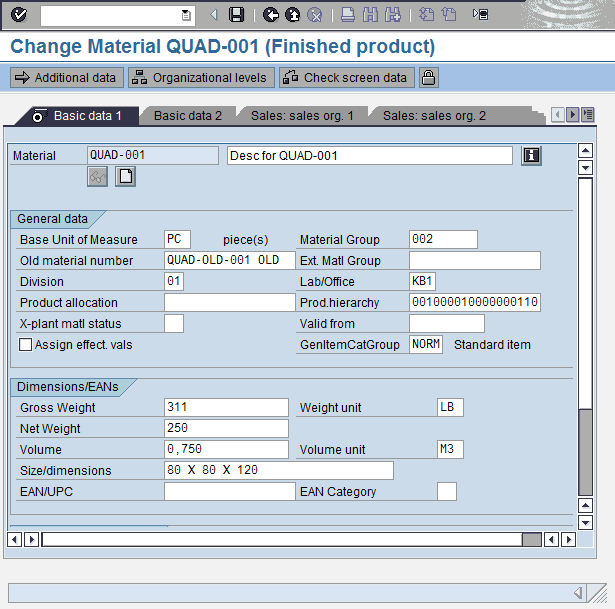
- When the recording is complete, click Save or end the transaction just as you normally would.
Step 2: Populate the Load File
Based on the Load File Options, an Excel or Access load file is automatically created and opened for you. The columns in the load file represent fields that were "touched" during the recording. The first row represents the SAP Technical field names, the second row represents the descriptions from SAP, and the third row is a sample row of data which is not uploaded and is used only as a reference for data formatting.
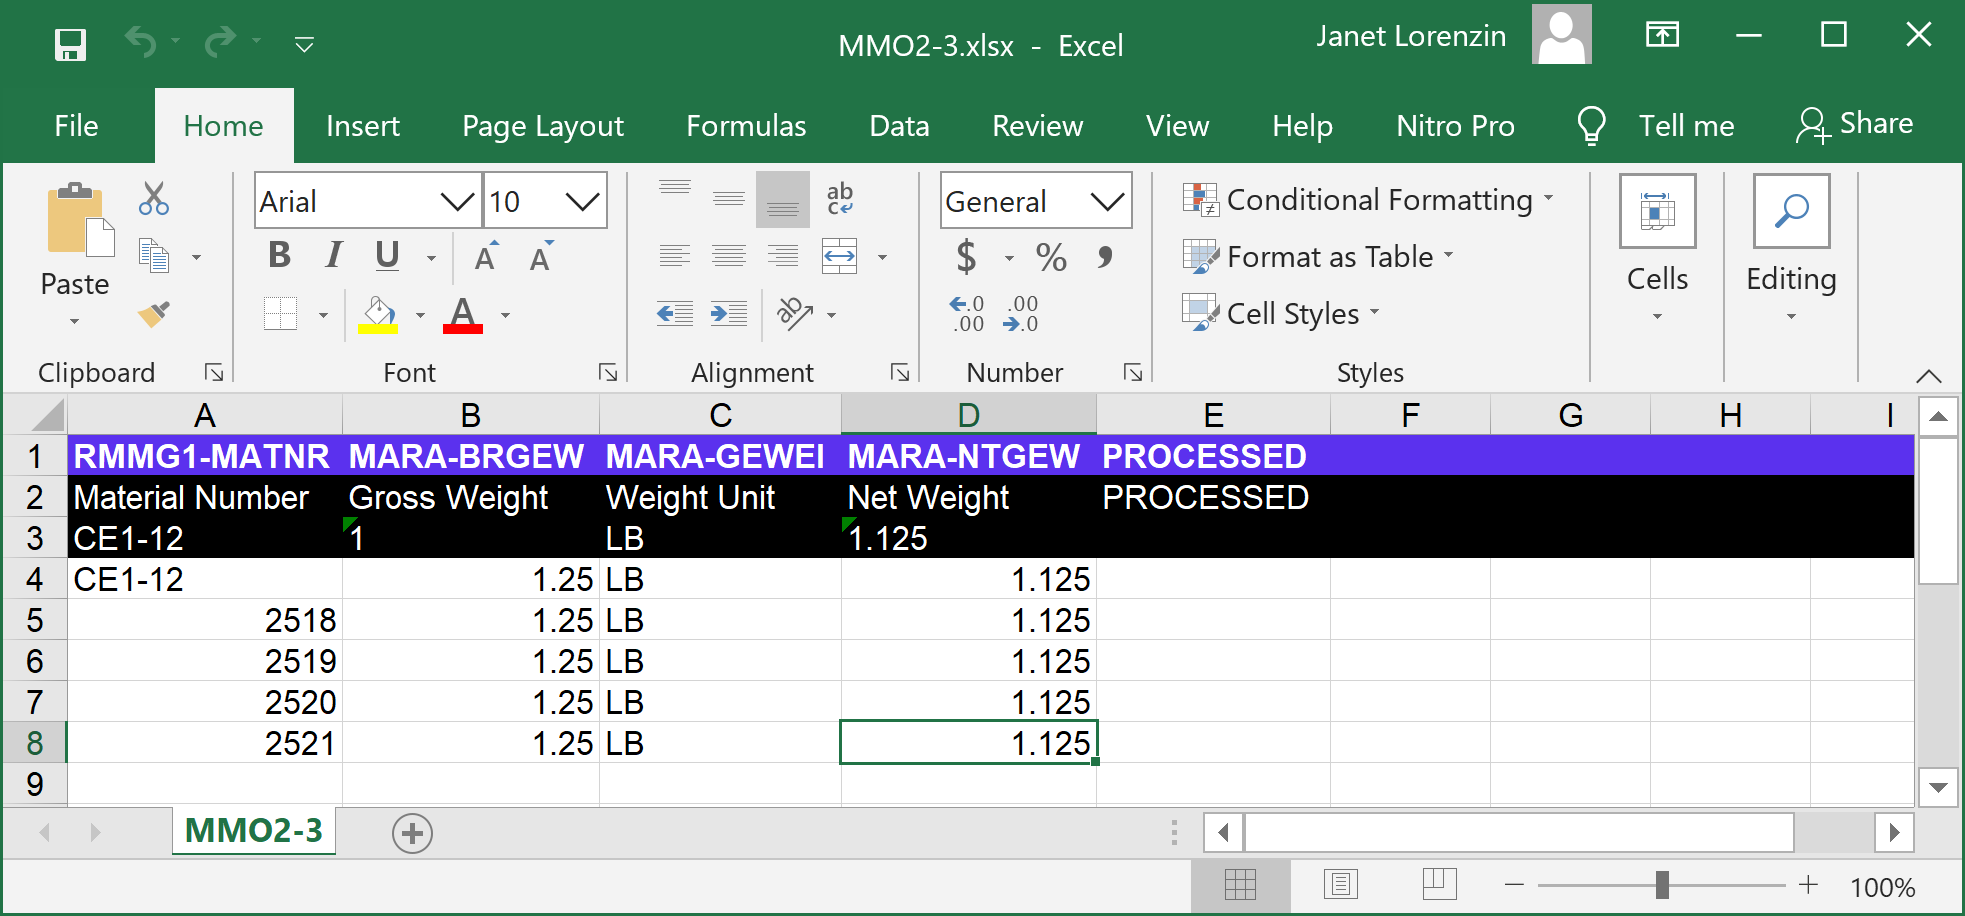
- Add data to the load file.
-
Once the load file is populated, save and close it.

Step 3: Upload the Data to SAP
- Go to the Upload Data to SAP Page.
- Navigate to the load file that was just populated.
- Click Upload to run immediately, or Schedule the file to run at a later time. For more information, see Upload Options Dialog.
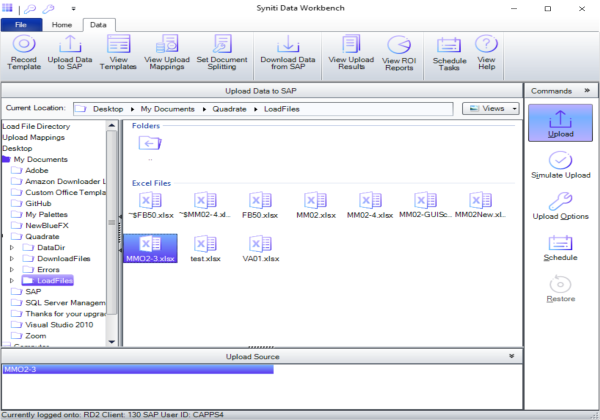
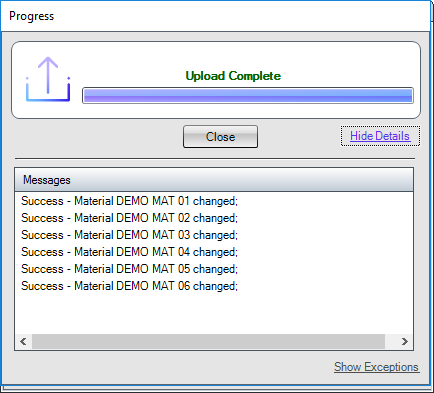
All the messages returned by SAP are displayed in the details pane.
NOTE: If records fail, see Troubleshoot Error Messages.


